
Destiny 2 Morgeth Surpassing Guide: Warpriest, Consecrated Mind and Morgeth

Morgeth Surpassing is one of the launch blocks of Pantheon 2.0, the 6-player boss-rush mode that opened on 9 June 2026 with the Monument of Triumph patch. It strings together three of the most punishing vaulted-raid bosses in Destiny 2 into a single non-stop run, in fixed order: Warpriest from King's Fall, Consecrated Mind from Garden of Salvation, and Morgeth, the Spirekeeper from Last Wish. No matchmaking, every Guardian under-leveled, revives pooled across the entire run.
In community reputation, Morgeth Surpassing is the harder of the two boss-trio activities. Each encounter fuses the raid boss with a secondary mechanic from the original raid: Warpriest plus Death Totems, Consecrated Mind plus Conflux defense, Morgeth plus the Queen's Walk symbol puzzle. This guide is the encounter-deep walkthrough. For the wider Pantheon 2.0 schedule, weekly rotations and the full title path see our Pantheon 2.0 guide . For the other launch block see our Calus Resplendent guide , and for patch context the Monument of Triumph guide .
Key Takeaways
- Fixed boss order: Warpriest, then Consecrated Mind, then Morgeth. One continuous run, no checkpoints on Standard.
- Six players, no matchmaking: bring a fireteam, use LFG, or grab a carry. Standard pools revives across all three bosses.
- Three difficulty tiers: Adventure to learn, Standard for the weekly Adept, Custom for Platinum emblems and masterwork loot.
- Strong launch DPS options: Truth (post-9.7.0 buff), Still Hunt with Celestial Nighthawk, Whisper of the Worm, Refurbished A499 linear fusion, Banner Shield Titan, Well of Radiance, Divinity on Consecrated Mind.
- Where teams wipe: desynced Warpriest brand rotation, Vex sacrificing at a Conflux, picking up a third Taken Strength on Morgeth, missing the cleanse before Amassed Strength hits 100%.
- Time: ~30 to 40 minutes on Standard, ~20 minutes at Platinum pace on Custom.
What Is Morgeth Surpassing
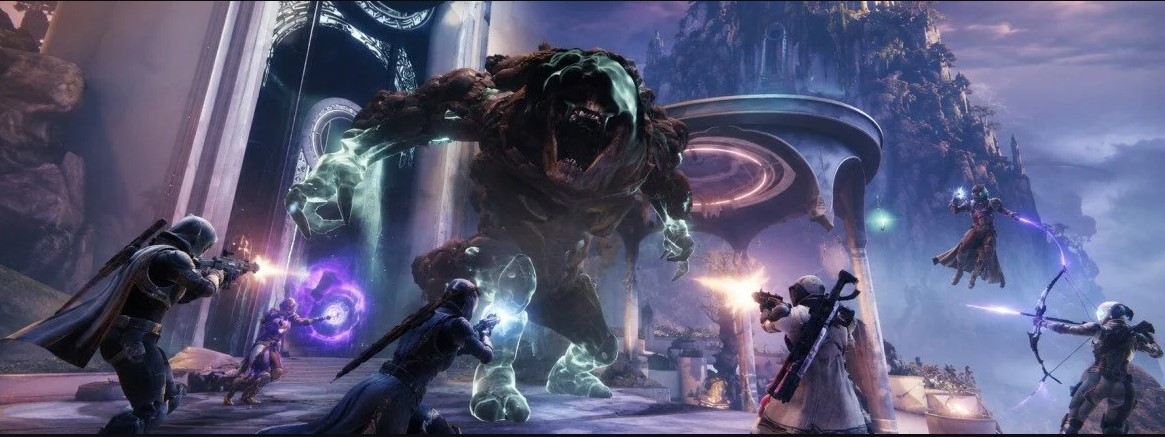
Morgeth Surpassing is a 6-player Pantheon 2.0 activity that strings together three boss fights from vaulted Destiny 2 raids. You start at Warpriest from King's Fall, move into Consecrated Mind from Garden of Salvation, and finish on Morgeth, the Spirekeeper from Last Wish. Same order every time. No mid-activity checkpoint on Standard or Custom.
Place in Pantheon 2.0
Pantheon 2.0 is the boss-rush headline mode that returned with the Monument of Triumph patch on 9 June 2026. Morgeth Surpassing sits alongside Calus Resplendent and a third launch block called The Gauntlet. This guide focuses only on the Warpriest, Consecrated Mind and Morgeth activity. Treat it as your weekly Adept farm and your path to Godslayer Title and MMXXVI seal progress, with the harder reputation reflecting its denser mechanics rather than longer phases.
Weapons of the Pantheon Quest
You cannot launch Morgeth Surpassing until you finish the Weapons of the Pantheon introductory quest from the Drifter. Most players knock the quest out alongside one Calus Resplendent clear because that flow unlocks the Pantheon system cleanly. After the quest is done, Morgeth Surpassing appears under Raids in Destinations.
Activity Format and Difficulty Tiers
All Guardians are under-leveled by design and every encounter demands coordinated team comms. Three difficulty tiers are available the moment the activity unlocks. The tier you pick decides whether you are learning, farming or pushing for Platinum.
| Tier | Revives | Power Handicap | Feats | Reward Tier |
| Adventure | Infinite | Light | Off | Loot still drops, no Platinum |
| Standard | Limited, pooled | Medium | Off | Weekly Adept, Pantheon armor |
| Custom | Limited, pooled | +5 to +20 stacked | On | Masterwork loot, Platinum emblem |
Standard is the sweet spot once your team has cleared the activity once. Adventure is the right place to learn Warpriest's brand rotation and Morgeth's symbol puzzle without losing revives. Do not jump straight to Custom on a first clear. Power handicap stacks fast and the Feats add deadly modifiers on top of the base mechanics, which already punish desyncs harder here than on Calus Resplendent.
Team Setup, Rewards and Time Estimates
The three encounters chain together, so your fireteam composition needs to survive all the way to Morgeth's final stand, not just blast Warpriest in two cycles. The numbers below are the activity at a glance, the baseline for every loadout and tier decision later in this guide.
| Spec | Value |
| Activity | Morgeth Surpassing (Pantheon 2.0 launch block) |
| Encounters | Warpriest, Consecrated Mind, Morgeth (fixed order) |
| Players | 6, no matchmaking |
| Difficulty tiers | Adventure, Standard, Custom |
| Power handicap | All Guardians under-leveled, tier-scaled |
| Time (Standard) | ~30 to 40 minutes |
| Time (Platinum) | ~20 minutes |
| Rewards | Pantheon armor, reprised raid weapons, weekly Adept |
| Title progress | Godslayer / Pantheon Godsbane, MMXXVI seal |
| Prerequisite | Weapons of the Pantheon (Drifter quest) |
Use this as your at-a-glance reference before queuing. The 30 to 40 minute Standard window includes the slower brand-rotation pacing on Warpriest and at least one full re-run of the Morgeth Heart cycle, which is realistic for most fireteams on a clean first weekly clear.
No Matchmaking and Fireteam Requirements
Morgeth Surpassing is 6-player, no matchmaking. You bring five friends, you roll Fireteam Finder or LFG, or you buy a carry. Coordinated voice comms are non-negotiable from Warpriest onwards because the brand rotation is a live timer-share between two trios, and Morgeth's symbol puzzle is unplayable without live callouts. A six-stack of strangers without mics will not finish this activity on Standard.
Important: Morgeth Surpassing has no matchmaking on any tier and is the harder of the two boss-trio activities in community reputation. Plan the fireteam before you launch. If you cannot field six on comms, our Destiny 2 Pantheon 2.0 carry drops you straight into a coordinated team, including Platinum runs on Custom.
Encounter Order and Revive Economy
The order is fixed: Warpriest, then Consecrated Mind, then Morgeth. Standard tier pools revives across all three encounters and there is no checkpoint between bosses. Burning four revives on a sloppy Warpriest brand rotation will leave you light for Morgeth's final stand, where the Queen's Walk run and the Taken Strength scramble can eat one or two extra deaths even on a clean team. Treat Warpriest as a discipline check. If anyone is dying repeatedly there, slow down and call the brand timers out loud.
Rewards, Adepts and Title Progress
Each encounter drops a Pantheon-exclusive armor piece plus a reprised weapon from its original raid. The activity-wide pool also includes the two Pantheon-exclusive weapons released with the mode and the Divinity catalyst on a low-percentage roll from Consecrated Mind.
- Warpriest: Pantheon armor piece plus a reprised King's Fall weapon roll.
- Consecrated Mind: Pantheon armor piece plus a reprised Garden of Salvation weapon, with a chance at the Divinity catalyst.
- Morgeth: Pantheon armor piece plus a reprised Last Wish weapon and Morgeth-specific Triumph progress.
- Pantheon-exclusive: Alone as a God Kinetic Sniper and Bane of Sorrow Void HMG appear in the wider loot pool across the run.
- Final vendor chest: at the end-of-activity hallway, lets you spend Spoils of Conquest to repurchase any weapons or exotics you saw drop.
- Title progress: every clear feeds the Godslayer / Pantheon Godsbane Title and the MMXXVI seal.
A clean Standard run lands in 30 to 40 minutes. Coordinated Platinum runs on Custom land closer to 20 minutes. Adventure tier varies because teams stop to re-explain mechanics between deaths, but the loot still drops there if you only need the weekly Adept.
Encounter 1: Warpriest, Throne-Bearer of Oryx
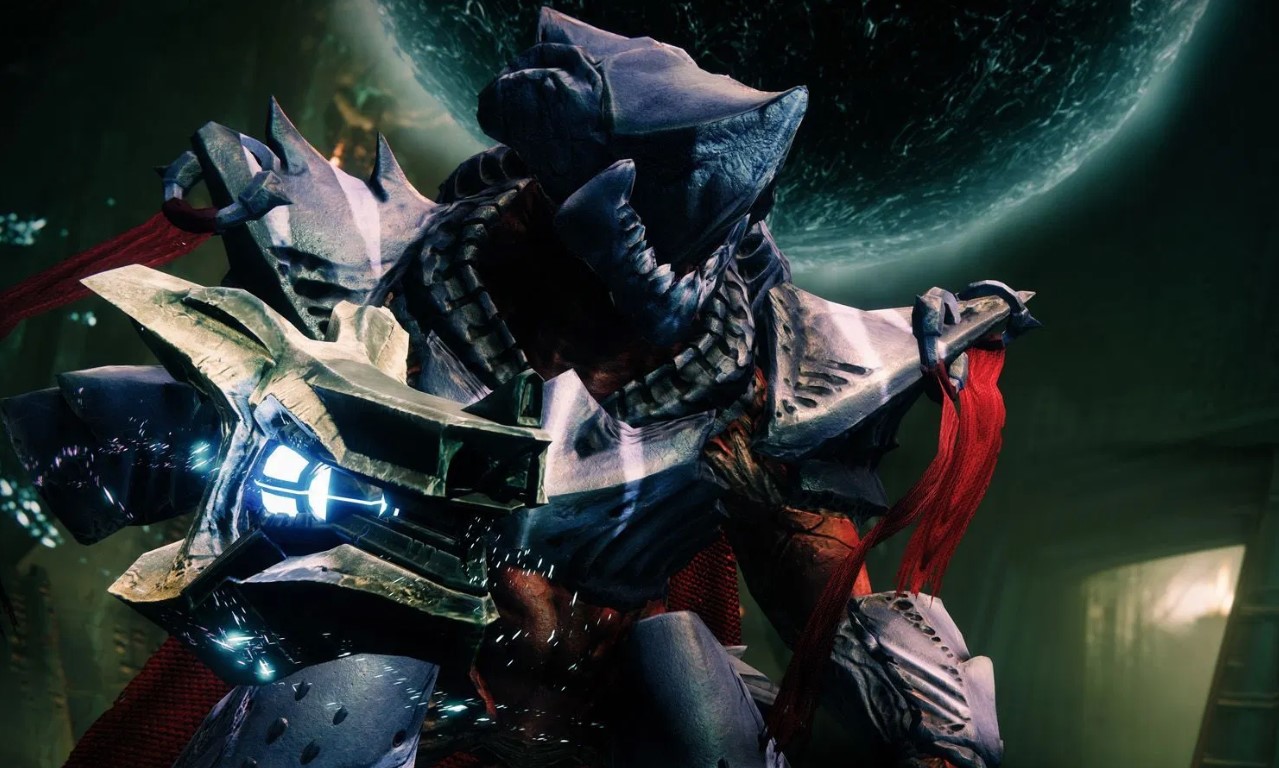
Warpriest is the brand-rotation drill from King's Fall. This is where most teams wipe because the rotation timing is unforgiving and the team relies on two parallel timer chains running in opposite rooms. Lose the rotation, miss a steal, and the brand-holder dies alone under a totem.
Arena Layout and Death Totem Split
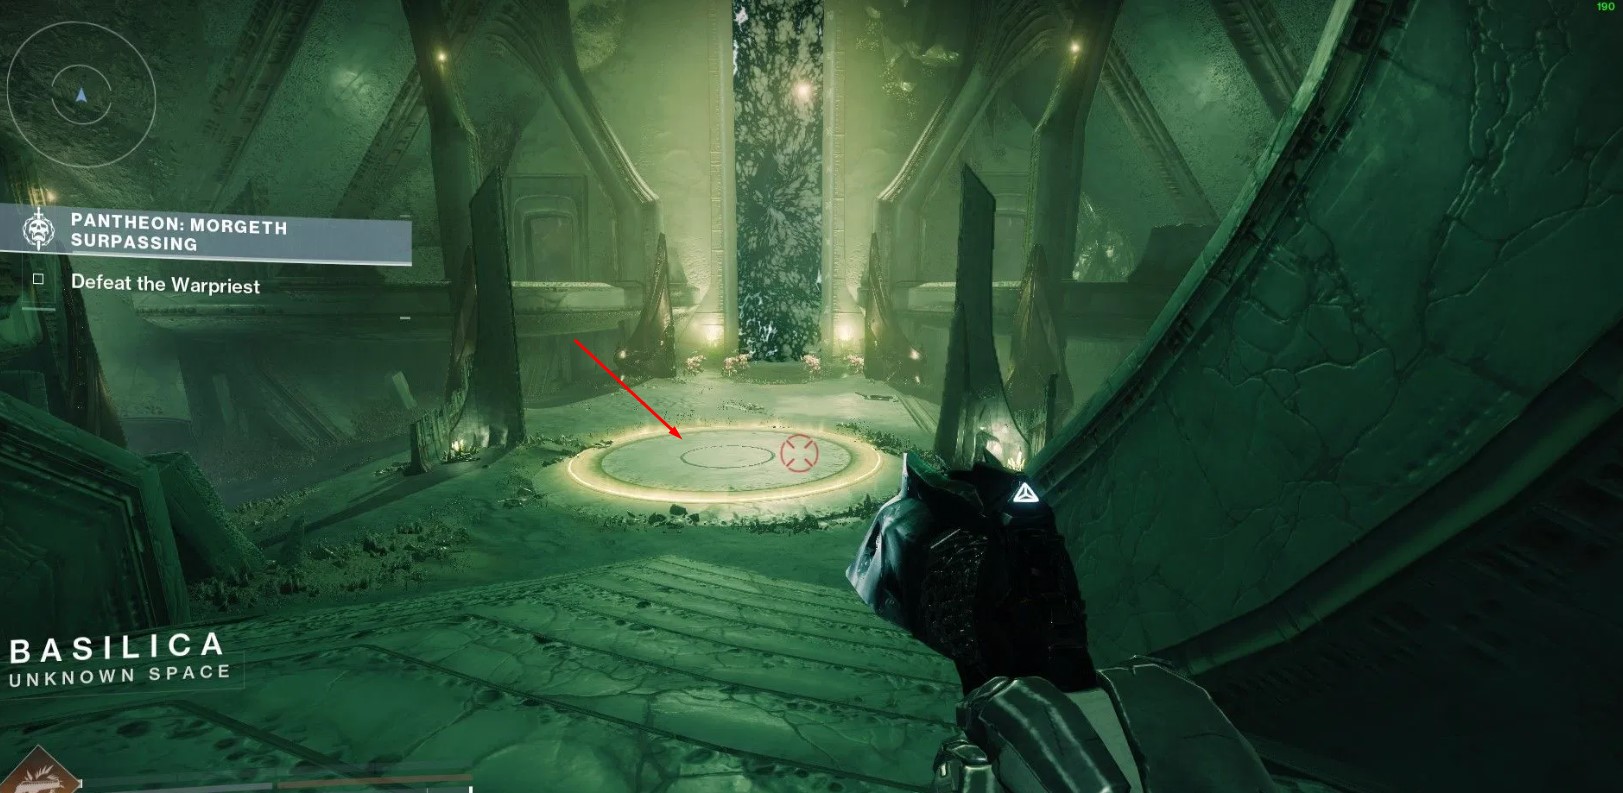
The arena is two side rooms with Death Totems and plates under each totem, connected to a central DPS room with three green deposit plates, three Hive pillars for the wipe-phase cover, and Warpriest standing center. Split 3-3 with one trio per Death Totem side, left and right.
Inside each trio assign a rotation order: brand holder first, brand claimer second, floater third. Lock these positions for the whole encounter so nobody is guessing whose turn it is to grab the next Brand Claimer.
Brand of the Weaver and Brand Claimer Rotation
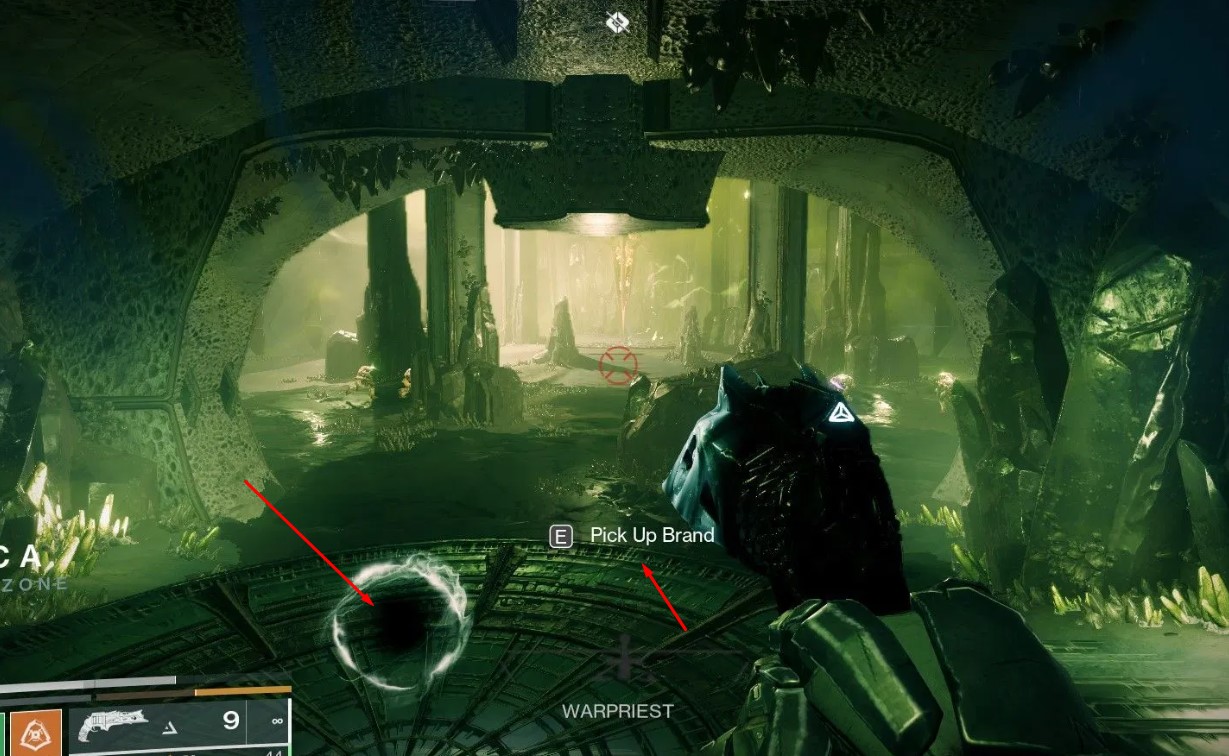
The opening move is the same for both trios. Player 1 picks up the Brand of the Weaver at the side-room entrance and stands under the Death Totem. The totem starts a short timer on the holder, around 30 seconds at the opening. If the holder leaves the totem for too long, the team wipes.
While Player 1 is on the totem, they kill the Hive ads flooding the side room. Each kill builds Deathsinger's Power stacks. The more stacks you build before swapping out, the longer your future DPS extension.
Meanwhile Player 2 of each trio runs into the central DPS room, kills a Hive Wizard, then kills the Blightguard Taken Knight that spawns. The Knight drops a Brand Claimer orb (also called Brand of the Unraveler in the in-game label). Player 2 picks it up, sprints back to the totem, and steals the brand from Player 1 just before Player 1's timer runs out.
Pro Tip: assign one player per trio as the brand-timer caller. Their job is to call out the timer at the 15 and 10 second marks. Sloppy timer comms are the single biggest wipe cause on Warpriest, more than any other mechanic in this encounter.
Deposit, Brand of the Initiate and DPS
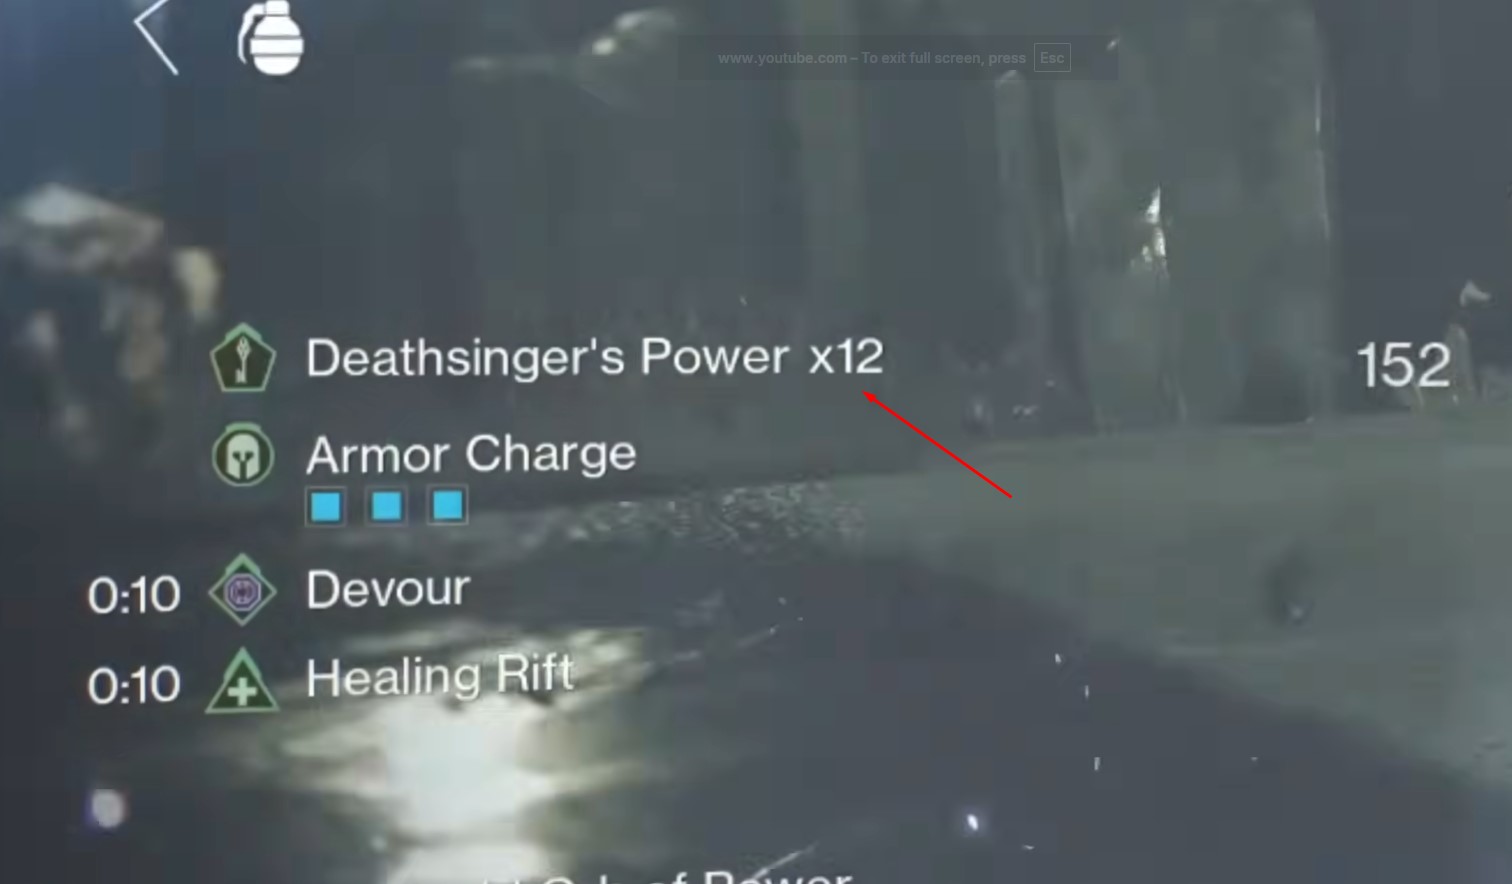
Player 1, now free of the brand, runs to a green plate in the central room and stands on it until all Deathsinger's Power stacks drain. Player 3 grabs the next Brand Claimer and rotates Player 2 out, and the loop continues. Both trios run this rotation in parallel, contributing Deathsinger's Power to the green plates.
When enough Deathsinger's Power has been deposited, the HUD reads "The War Priest deems you worthy" and the last-deposited plate turns red. One player steps through the red plate to pick up Brand of the Initiate. Everyone in the brand aura damages Warpriest. Two players leave DPS to kill the next Wizard and Knight pair and grab Brand of the Unraveler, which lets them steal the Initiate brand and extend the damage phase. The more Deathsinger's Power held by the stealer, the longer the extension.
Hive Pillar Wipe Phase and Common Fixes
When the damage phase ends the room flashes white. The whole team hides behind one of three Hive pillars in the central room. The pillar you use disappears after the blast, so you get exactly three safe pillars across the full fight, one per DPS phase. Everyone uses the same pillar each time. Splitting groups across two pillars wastes a future cycle's cover.
- Brand of the Weaver timer hits zero: the holder dies instantly. Fix: tight timer callouts at the 15 and 10 second marks.
- Holder leaves the totem too long: team wipes. Fix: do not chase ads outside the totem ring.
- Out-of-sync brand swap: brand-holder dies alone. Fix: count "swap in 3-2-1" before the steal.
- Wrong pillar: the wipe blast kills anyone outside the chosen pillar. Fix: pre-agree on pillar order before the first DPS phase.
- Re-used pillar: the used pillar is gone for the rest of the fight. Plan to one-or-two-phase Warpriest so you do not run out of cover.
Encounter 2: Consecrated Mind, Sol Inherent
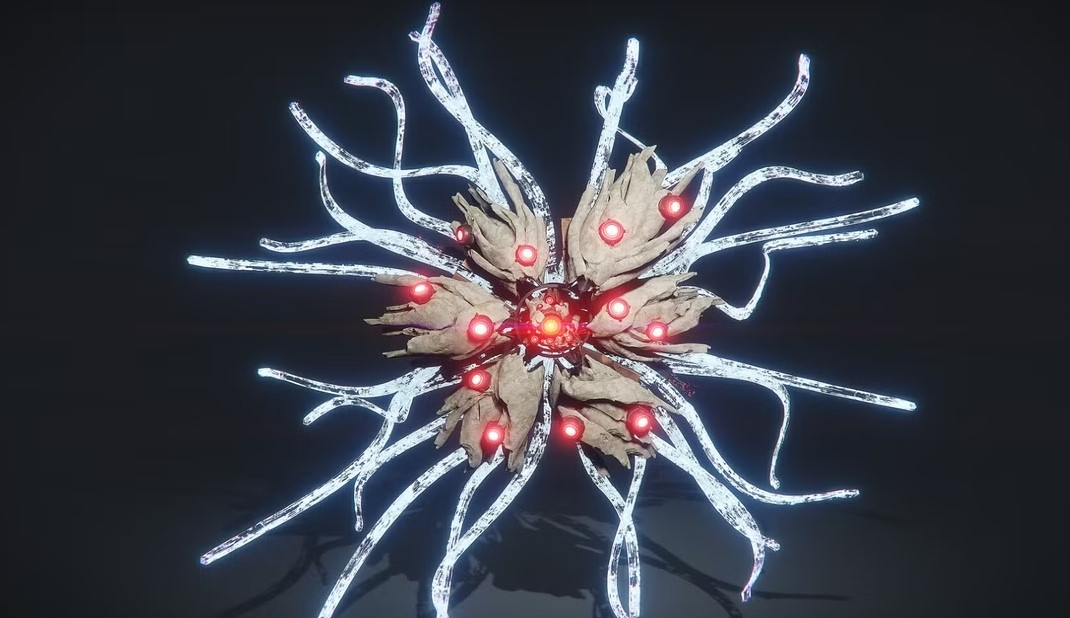
Consecrated Mind is the Conflux-defense fight from Garden of Salvation. This is where most teams wipe because one defender lets a shielded Vex sacrifice into a Conflux, or the spit-puddle volunteer misses an eye callout. Defense, runner work, eye reads, and a long back-away DPS window all happen on the same clock.
Five Confluxes and the Runner Role
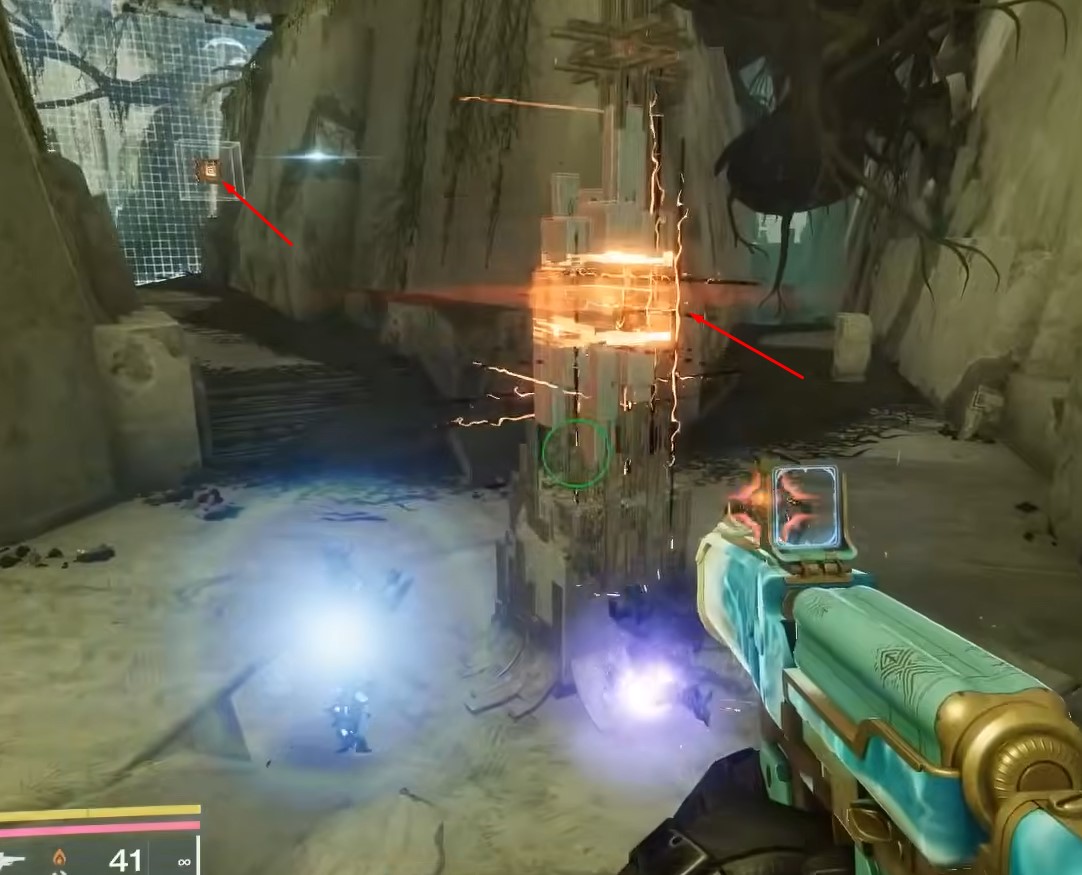
Five Confluxes sit around the arena: starting area, left, right, far across, and middle. Five players each defend one Conflux. The sixth player is the runner (also called the roamer in some communities). Defenders hold their Confluxes; the runner cycles through portals to pick up Voltaic Motes and deposit them into the middle Conflux.
Lock defender positions before the encounter starts so nobody is sprinting across the arena to reach a Conflux that needs help. The runner should be the player with the best add-clear mobility build, often a Hunter or a Speaker's Sight Warlock.
Enlightened, Tether Boxes and the Refresh Trick
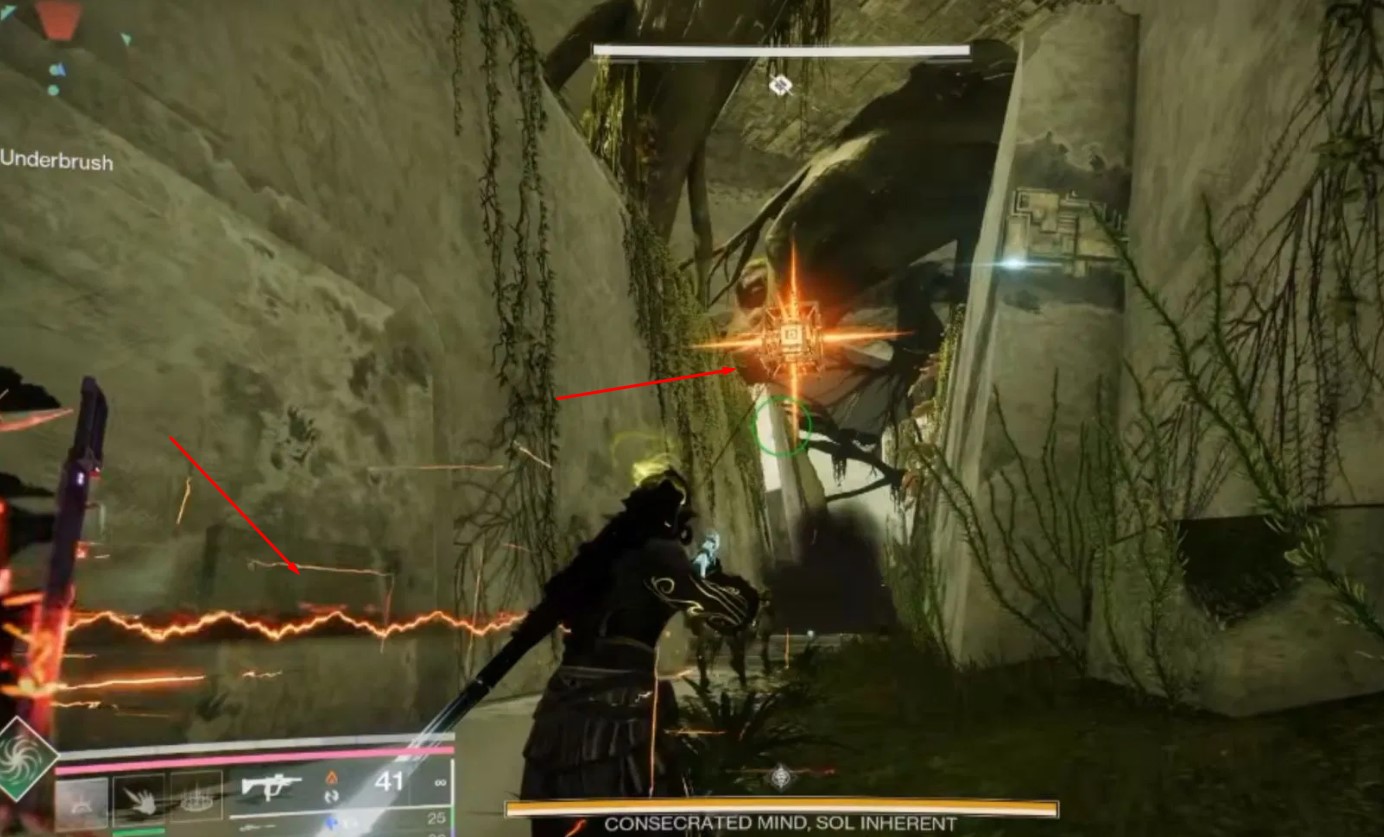
Defenders need the Enlightened buff to actually damage the shielded Vex that try to sacrifice into a Conflux. Without Enlightened, the Vex pass through your shots and your Conflux fails. To get Enlightened, kill the Angelic Hydra near your Conflux to unlock the tether box, then shoot the box to form a tether line. Everyone on the tether line gets Enlightened for roughly one minute.
There is a much cleaner refresh trick specific to Pantheon. When the HUD reads "Undergrowth Defenses Subsided", the arena enters a brief safe window. Every defender attaches to their own local box at the same moment while the middle defender and the runner complete a 2-person tether to the middle Conflux. All five defenders refresh Enlightened simultaneously. This is the standard refresh once your team learns it.
Boss Spit, Voltaic Overflow and Eye Callouts
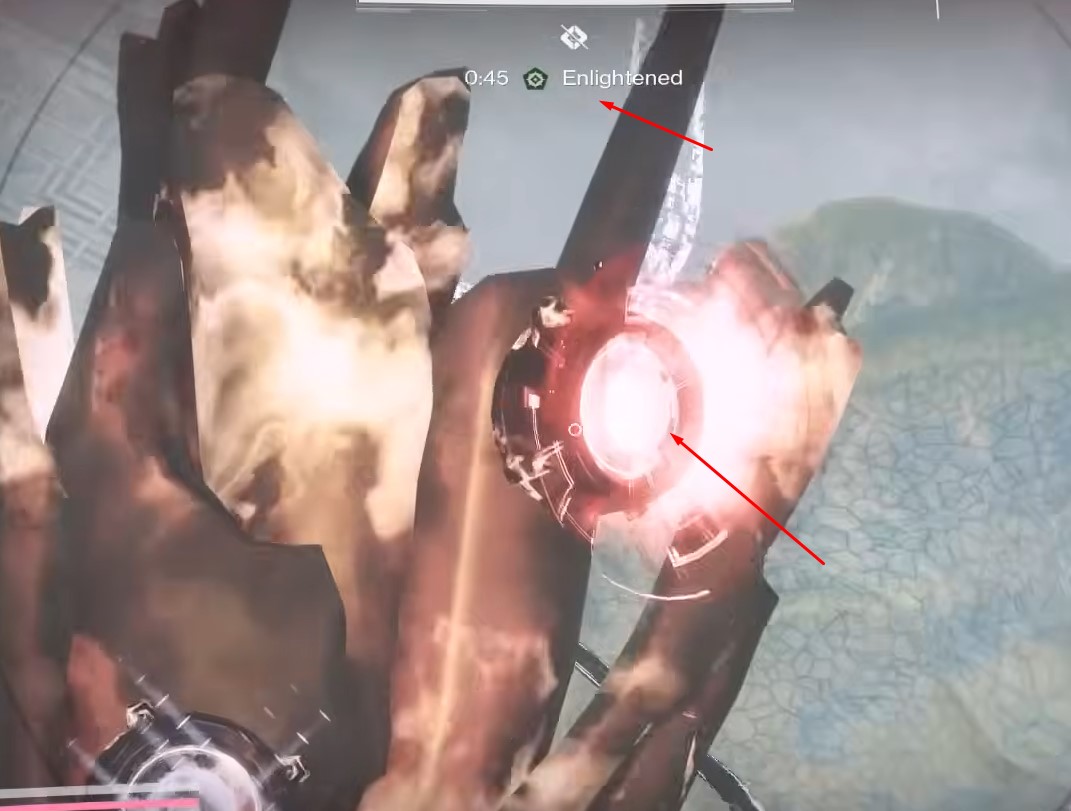
Consecrated Mind roams the arena and spits puddles near random Confluxes. One player steps into the puddle and gains Voltaic Overflow for around two minutes. The debuffed player is the only one who can see the boss's three red glowing eyes on its appendages. Their job is to call out "inner" or "outer" for each eye, and the rest of the team shoots the matching three red circles to destroy them.
The debuffed player cannot step into another spit puddle until Voltaic Overflow expires, so you need a rotating volunteer order. Decide ahead of time which player takes the first spit, the second, and the third, so nobody is fumbling for the puddle while the team waits on a callout.
Warning: do not burn heavy ammo destroying the boss's eyes. Use primary. The damage check during the eye phase is small; the real DPS window opens after the boss backs away from the middle Conflux. Save heavy for then.
Overload, DPS and Common Fixes
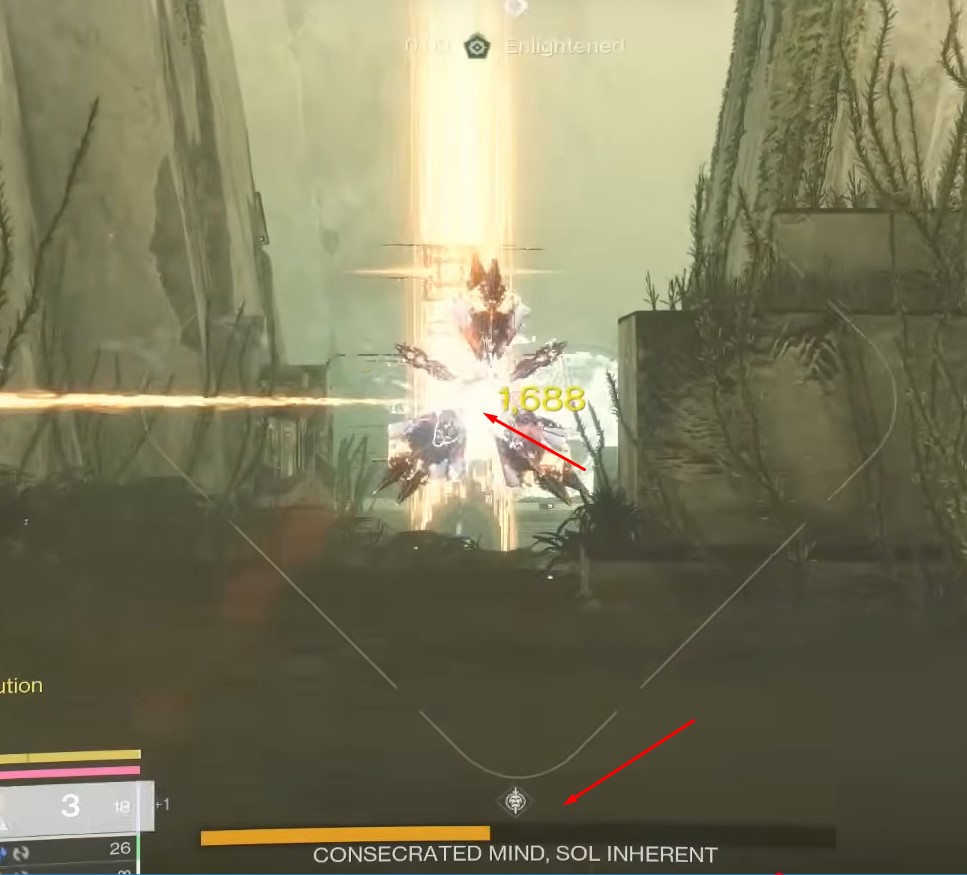
When the runner has deposited enough Voltaic Motes into the middle, the HUD reads "The Consecrated Mind is drawn to an overloaded relay". Everyone groups in the centre. The boss exposes its eyes; shoot them with primary. Once cleansed, Consecrated Mind backs away from the middle Conflux and this is the real damage window.
The DPS window is long-range because the boss is retreating. Snipers, linears, Whisper, Queenbreaker, and Truth all carry well here. Divinity is the support pick that locks DPS for the whole team.
- Shielded Vex sacrifices into a Conflux: team wipe. Fix: refresh Enlightened on the "Undergrowth Defenses Subsided" callout so all five defenders have full buffs at once.
- Angelic Hydra locks the tether box: shielded Vex snowball through your Conflux. Fix: kill the Hydra immediately on spawn.
- Missed eye callout: wipe. Fix: rotate spit-puddle volunteers in a pre-agreed order.
- Heavy burned on eye destruction: anaemic DPS phase. Fix: primary only for eyes.
- Same player keeps grabbing the spit: Voltaic Overflow blocks repeat use. Rotate.
Encounter 3: Morgeth, the Spirekeeper
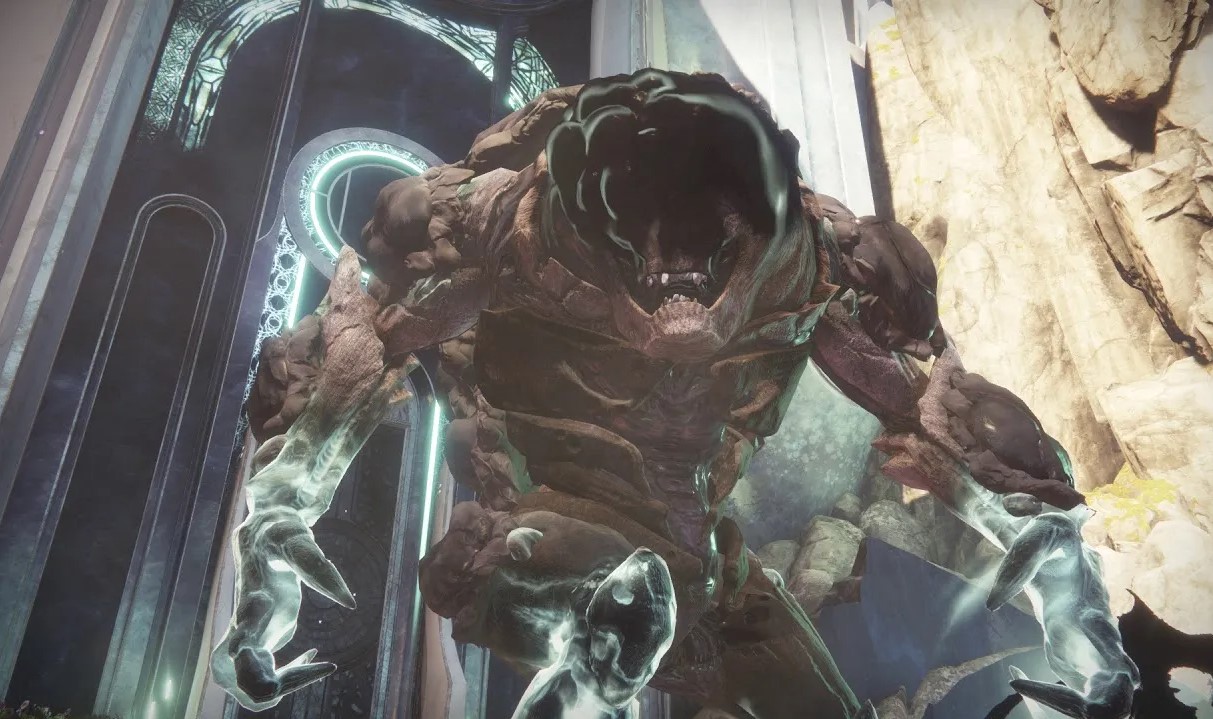
Morgeth is the symbol-puzzle fight from Last Wish, fused with the Queen's Walk encounter that precedes it in the original raid. This is the encounter that ends the run for unprepared teams. Three stacks of Taken Strength kill you, the cleanse mechanic transfers stacks between players, the symbol puzzle blinds half the team, and the Amassed Strength bar threatens a hard wipe at 100% during every damage phase.
Taken Strength Stacks and the Trap Mechanic
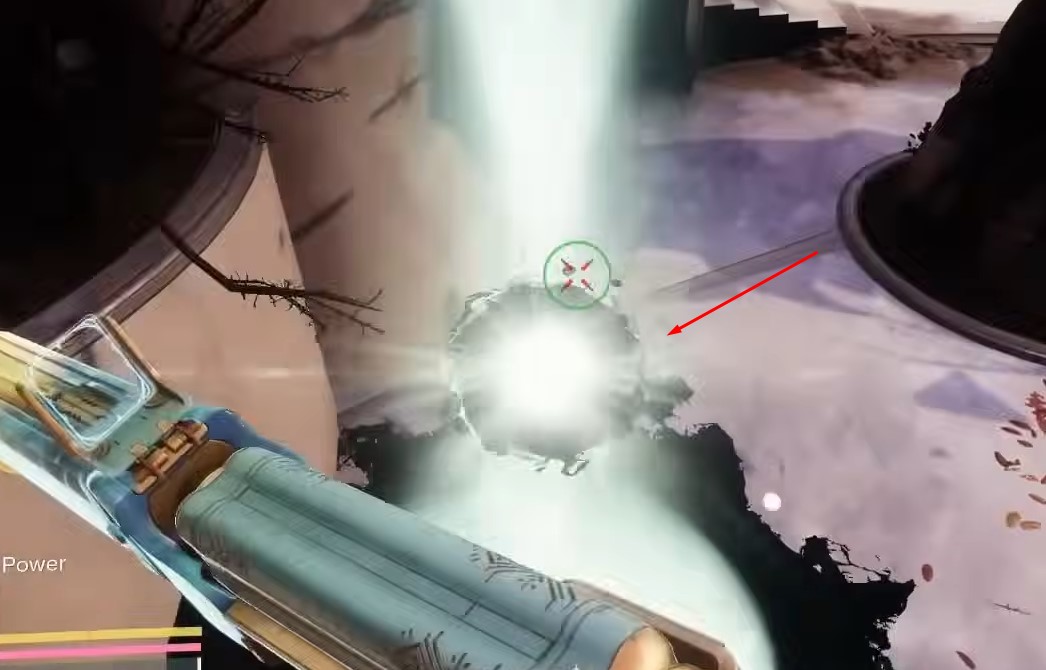
Two teams of three. Morgeth stands at the back near the staircase. The first Taken Strength orb spawns in front of him. Picking it up starts the encounter. Each player can hold a maximum of two stacks. A third stack kills you and drops your stacks on the ground, which usually breaks the rotation.
Warning: never pick up a third Taken Strength. Two stacks are safe. The third stack kills you and usually breaks the whole rotation, even if it does not directly wipe the team.
Morgeth periodically raises his hand and traps a player who is carrying two Taken Strengths. The trapped player cannot move. If they are not freed before the timer runs out, they die and Morgeth's Amassed Strength bar grows.
Eye of Riven Cleanse and Riven's Heart Symbols
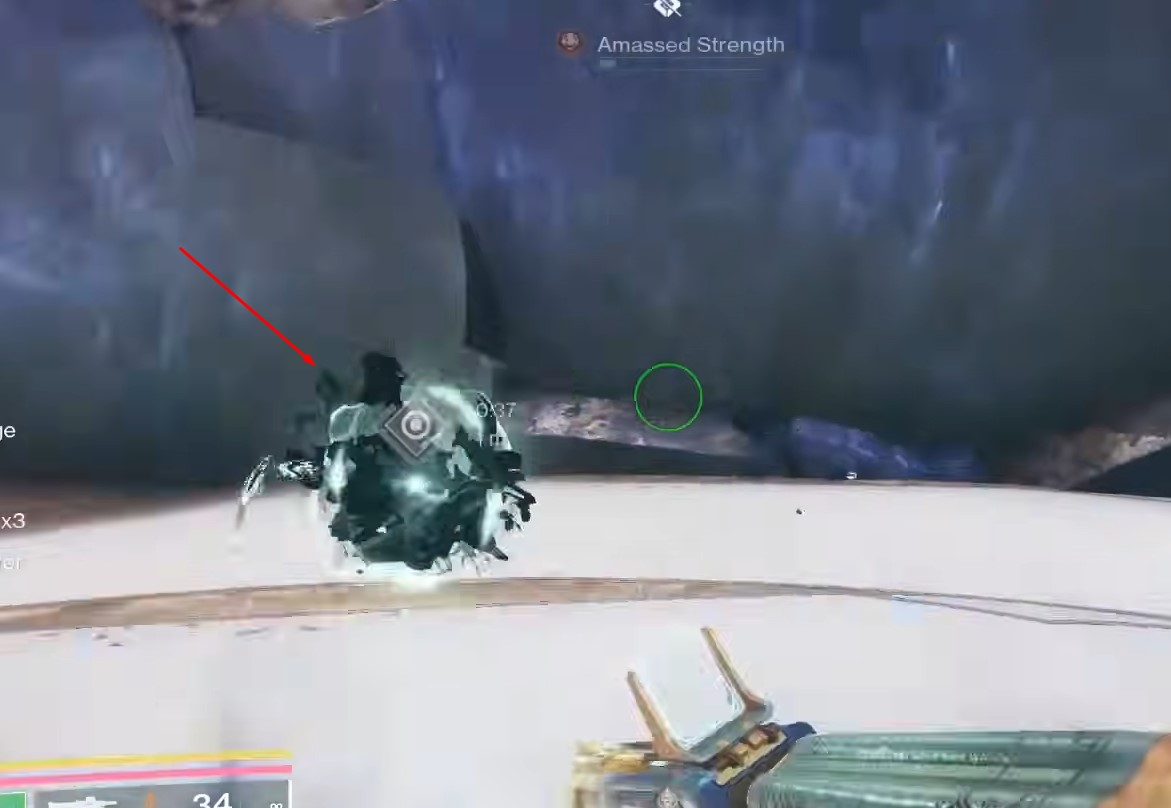
Kill an Eye of Riven Taken Captain to drop a Taken Essence. The Essence holder runs to the trapped player and presses the grenade button to cleanse them. Cleansing transfers the trapped player's two Taken Strengths to the cleanser, and both players warp into Riven's Heart.
Pro Tip: the Essence holder must have zero Taken Strength stacks before cleansing. The cleansed player's two stacks transfer to the holder, and if the holder already had stacks, the overflow kills them. Treat this as a best practice and pre-pick your Essence holders so they are not running around grabbing Taken Strengths between cleanses.
Inside Riven's Heart there are eight Taken Strengths labelled with Last Wish symbols. Only the Essence holder can see the symbols. Their cleansed partner is blind. The four players still outside read the symbols that appear on the wall behind Morgeth. The outside team calls out symbols to AVOID. The Essence holder inside guides their partner to the Taken Strengths whose symbols were NOT called out.
Pro Tip: before starting Morgeth, agree on your Last Wish symbol names in voice chat. The exact names matter less than everyone using the same callouts. Snake, dragon, fish, cloud, spear, whatever your team calls them, lock the vocabulary before the trap mechanic fires.
Repeat the cleanse cycle until all six players are inside Riven's Heart. Each cleansed pair grabs two safe Taken Strengths so they meet the two-stack cap, then waits for the next trap.
Amassed Strength Control and DPS

Once all six are inside, Morgeth teleports into the Heart. The final Taken Strength spawns near him. A player without two stacks grabs it to start DPS. The team stacks on Morgeth and burns the glowing weak spots.
A debuff bar called Amassed Strength appears at the top of the screen during DPS. 100% Amassed Strength = team wipe. During damage, an Eye of Riven spawns inside the Heart. Kill it, grab its Taken Essence, and use the Essence super attack on Morgeth at around 80 to 90% Amassed Strength. This ends damage cleanly and resets the cycle.
Warning: Amassed Strength at 100% is a team wipe. Use the in-Heart Eye of Riven cleanse Super between 80 and 90% to end the damage phase cleanly. Greed past 90% and you lose the run, no exceptions.
Queen's Walk Final Stand and Common Fixes
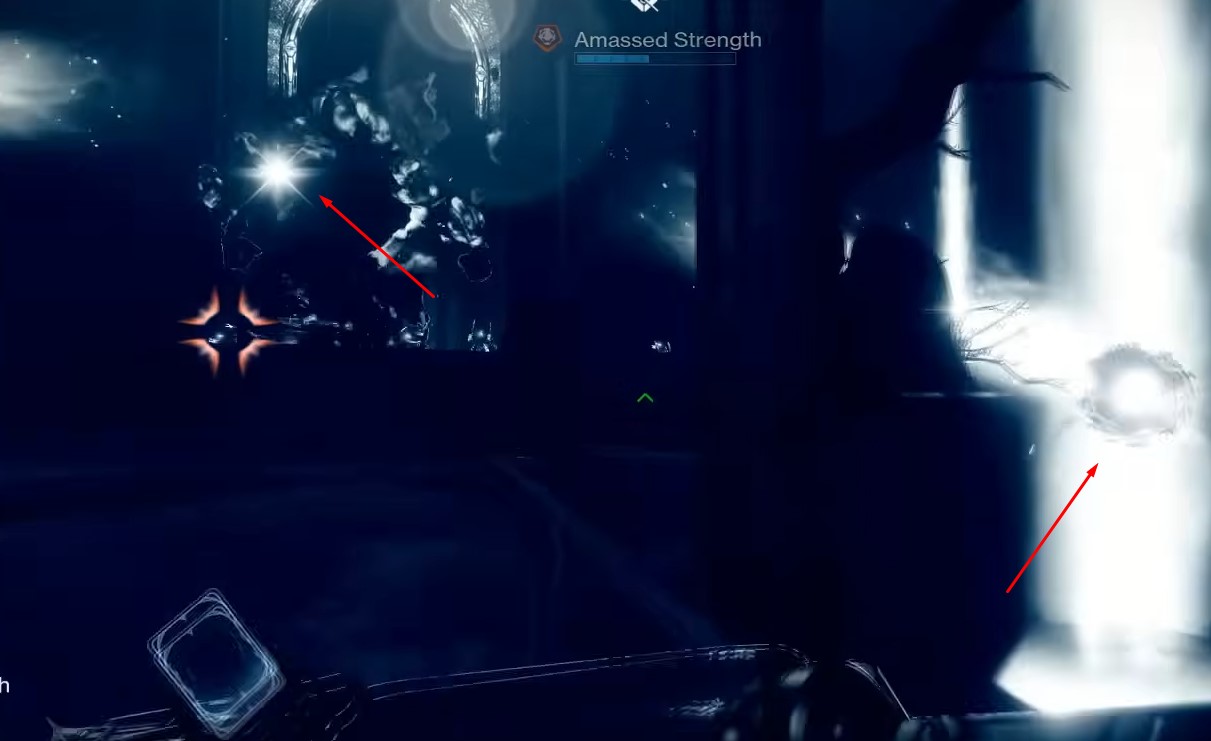
When Morgeth's HP drops into the final stand range, a portal opens in Riven's Heart and the team is transported to the Queen's Walk jumping puzzle. Fight Wizards as you cross. At the end, the team lands in the final arena where Morgeth waits with multiple Taken Strengths spawned around him, roughly seven across the arena.
All Taken Strengths must be collected before Morgeth becomes vulnerable. The two-stack cap still applies, so at least four players need to be ready to grab. The two fastest players sprint for the furthest Taken Strengths. Players arriving slower take the close ones. Once all are collected, Morgeth's shield drops and the team burns him before the still-ticking Amassed Strength fills to 100%.
- Third Taken Strength pickup: instant death and dropped stacks. Fix: never grab a third.
- Cleanse not done in time: trapped player dies. Fix: pre-lock two Essence holders.
- Essence holder with stacks: overflow death after cleanse. Fix: Essence holders dump stacks before grabbing the Essence.
- Wrong symbol picked inside the Heart: wastes the pair, Amassed Strength balloons. Fix: lock the symbol vocabulary before the run.
- Greed past 90% Amassed Strength: wipe before the cleanse super lands. Fix: 80 to 90% is the cleanse window.
- Slow final stand: Amassed Strength hits 100% before damage opens. Fix: two fastest players go for the furthest Taken Strengths.
Best Loadouts and Subclasses
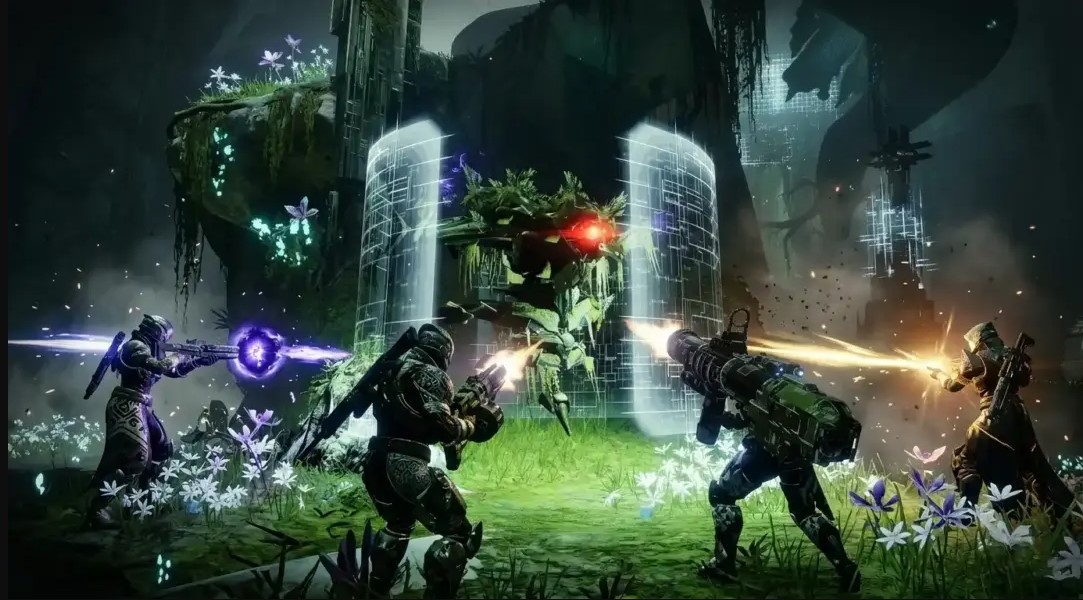
With the mechanics dialled in, the second-biggest factor in a clean Morgeth Surpassing clear is loadout discipline. These are strong launch options with the post-9.7.0 buffs applied, not a permanent meta. Patch balance shifts; check Bungie patch notes before committing if it has been a couple of months since launch.
Heavy DPS Picks
Strong launch options for heavy include Truth (post-9.7.0 buff is the consensus rocket pick), Whisper of the Worm for sustained crits during the long Consecrated Mind back-away window, Still Hunt on Hunter paired with Celestial Nighthawk for burst Golden Gun damage on Morgeth, and the Refurbished A499 linear fusion from the Monument of Triumph weapon pool. For catalyst upgrades, see our new catalysts guide .
Support Roles
Two support roles are mandatory for Standard. Well of Radiance Warlock for survival on every damage phase. Banner Shield Titan with Doom Fang Pauldrons as DPS amp on every damage phase. A third Warlock running Speaker's Sight for healing turret coverage is high-impact on Consecrated Mind, where defenders cannot leave their Conflux to heal.
For Consecrated Mind specifically, Divinity is one of the safest support picks because it gives the team a stable crit bubble during the long back-away DPS window. A Divinity player anchors the rest of the fireteam's snipers and linears onto the weak spot the whole phase, instead of every shooter chasing a moving crit. If your team has a regular Divinity user, slot them here.
Pro Tip: a Tractor Cannon or Refurbished A499 support player can keep strong weakening uptime during DPS, but only use this if the player can maintain the rotation without dropping mechanics. Do not over-commit to the tech if the brand rotation on Warpriest or the Conflux defense on Consecrated Mind is still loose.
Per-Encounter Loadout Swaps
| Encounter | Heavy | Special | Primary | Super |
| Warpriest | Truth | Heavy sniper | Fast-TTK auto or pulse | Well, Banner Shield, Nighthawk |
| Consecrated Mind | Refurbished A499 or Whisper | Queenbreaker or heavy sniper | Divinity | Well, Banner Shield, Nova Bomb |
| Morgeth (Heart DPS) | Truth or sword DPS | Izanagi's Burden | Auto with Heal Clip | Nighthawk Golden Gun, Cuirass Thundercrash, Needlestorm |
| Morgeth (Final Stand) | Truth or Whisper | Heavy sniper | Auto with Heal Clip | Save one super for the stand |
Use this table as a starting point, not a checklist. The biggest swap is Divinity on Consecrated Mind, where the crit bubble keeps the team locked on weak spots while the boss retreats. The biggest mistake is staying on close-range weapons during Consecrated Mind DPS, when the boss has already backed away.
Role Assignments and Wipe Fixes
Most Morgeth Surpassing wipes are role-assignment failures, not mechanical failures. Six players walking in without pre-assigned brand-rotation order, Conflux defenders, Essence holders and symbol callers will eat the same wipe three times in a row before someone realises nobody is locked into the right job. Before splitting the team, the cheat sheet below summarises every mechanic across the three encounters in one screen.
| Boss | Team Split | Core Mechanic | DPS Window | Wipe Risk |
| Warpriest | 3/3 by Death Totem | Brand of the Weaver, Claimer rotation, deposit | Brand of the Initiate, extended by Unraveler steal | Brand timer hit zero, wrong pillar, used pillar |
| Consecrated Mind | 5 + 1 (defenders + runner) | Enlightened, Voltaic Motes, eye callouts | Back-away long range after overload | Vex sacrifice, missed eye, locked tether box |
| Morgeth | 3/3 with rotating Essence holders | Cleanse, Riven's Heart symbol guidance | Stacked on boss inside Heart, sword + heavy | Third stack, wrong symbol, Amassed Strength 100% |
Reference this table during the run if a wipe leaves the team confused. The three encounters share a pattern: split, build buffs, sync the team, DPS, repeat. The specifics differ but the rhythm carries over from one boss to the next.
Warpriest 3/3 Pair Splits
Lock two trios by totem side, left and right. Within each trio, set the rotation order: brand holder first, brand claimer second, floater third. Pre-pick the brand-timer caller per trio. Pre-agree on the pillar order for the first, second and third DPS phases.
Consecrated Mind 5+1 Split
Lock the five Conflux defenders by position: starting, left, right, far across, middle. Lock the runner. Lock the spit-puddle volunteer order (rotate every two minutes due to Voltaic Overflow). Designate the eye-callout language ahead of time, "inner left", "outer middle", whatever your team uses, so nobody is guessing under fire.
Morgeth 3/3 with Essence Holders and Symbol Callers
Lock two teams of three. Pre-assign two Essence holders, one per cleanse cycle, both starting with zero Taken Strength stacks. Pre-assign two outside symbol callers who read the symbols on the wall behind Morgeth. Pre-assign two final-stand runners, the fastest players, who sprint for the furthest Taken Strengths in the Queen's Walk final arena.
Quick Wipe-Cause Reference
| Boss | Wipe Cause | Fix |
| Warpriest | Brand of the Weaver timer to zero | Timer caller per trio at 15 and 10 seconds |
| Warpriest | Wrong Hive pillar used | Pre-agree pillar order before phase 1 |
| Warpriest | Re-used pillar | One-or-two-phase, do not extend past 3 cycles |
| Consecrated Mind | Vex sacrifice at a Conflux | Refresh Enlightened on "Undergrowth Defenses Subsided" |
| Consecrated Mind | Missed eye callout | Rotate spit-puddle volunteers in a pre-agreed order |
| Consecrated Mind | Heavy burned on eye destruction | Primary only for eyes, heavy for back-away DPS |
| Morgeth | Third Taken Strength pickup | Never grab a third, drop stacks first |
| Morgeth | Essence holder with stacks | Essence holders dump stacks before grabbing the Essence |
| Morgeth | Wrong symbol picked in Heart | Lock symbol vocabulary before the run |
| Morgeth | Greed past 90% Amassed Strength | Cleanse super between 80 and 90% |
Print this table mentally before your first Standard run. The ten wipes above cover the vast majority of Morgeth Surpassing failures. If you can cover every row on comms, the run lands cleanly even on rough nights.

When your LFG group keeps falling apart on Morgeth or you need a guaranteed Platinum clear on Custom, a Pantheon 2.0 carry drops you into a coordinated team that has cleared all three encounters dozens of times. Useful for the weekly Adept farm, MMXXVI seal progress and the Godslayer Title push.

Morgeth Surpassing FAQ
Can Morgeth Surpassing be soloed or duoed?
No. The activity is locked to six players with no fewer-player override. The 3-3 splits on Warpriest and Morgeth and the 5+1 split on Consecrated Mind physically require a full team. There is no solo or duo cheese path published at this time.
Is there matchmaking?
No matchmaking on any tier. You bring a fireteam, use Fireteam Finder or LFG, or buy a carry. Adventure tier still requires a full pre-formed team of six.
How long does a Standard run take?
A clean Standard run lands in 30 to 40 minutes. Platinum-pace runs on Custom land around 20 minutes with a coordinated team and tuned loadouts. Adventure runs are highly variable because teams stop to teach mechanics between deaths.
What loadout should I bring on a first clear?
Truth or a heavy sniper as your heavy, an auto rifle with Heal Clip as your primary, Well of Radiance on Warlock or Banner Shield Titan as your support. If you own Divinity, bring it for Consecrated Mind. Save complicated per-encounter swaps for clear two and three.
Can I repeat Morgeth Surpassing for loot?
Yes. The activity is fully repeatable. Standard rewards a weekly Adept drop the first time per character per week. Custom rewards masterwork-tier loot and the Platinum emblem on every clear that meets the Platinum bar. Adventure still drops loot if you only need the weekly chase.
How does the secret exotic mission fit in?
It does not gate Morgeth Surpassing, but the Oblation and Cull's Shadow guide covers the launch-week secret exotic mission, which drops gear that pairs well with Pantheon runs. Worth doing in the same session.
Final Thoughts and Carry Recommendations
Morgeth Surpassing rewards role discipline more than raw mechanics knowledge. Lock the brand-rotation order and the pillar order on Warpriest. Lock the Conflux defenders, the runner, and the spit-puddle volunteer order on Consecrated Mind. Lock the Essence holders, the symbol callers, and the final-stand runners on Morgeth. Bring Truth, Divinity, Well, Banner, and you will clear Standard inside forty minutes. The decision logic is simple: Adventure for the first learning run, Standard for the weekly Adept farm, Custom only when your fireteam knows every mechanic cold and is chasing Platinum.
For broader context, sit your Pantheon 2.0 weekly inside the wider patch loot pool. Read the Pantheon 2.0 overview for the full activity schedule, the Calus Resplendent guide for the other launch block, the Monument of Triumph guide for patch context, and the new catalysts guide for the upgrades that re-shape your DPS picks.
If your LFG luck is rough this week, you cannot field six on comms, or you want to lock in the weekly Adept and the Platinum emblem in one session, a Destiny 2 Pantheon 2.0 carry drops you into a fireteam that has cleared Morgeth Surpassing dozens of times across Standard and Custom tiers. Same week, same loot, no scheduling headaches.